
White Long Hair Cat Handle Basket- JMRush
Approximate Box size: H 2.25” X W 3” X D 2.25”
Approximate Design size: W 4.5” X H 5.5” including handle
This cute basket design is a perfect container for treats for your favorite feline, a small gift for your veterinarian, or a party favor. This design is compatible with both 8X12 and 12X12 mats.
You can purchase the Silhouette design file here: https://www.silhouettedesignstore.com/artists/485222
You can purchase the SVG and Cricut compatible file here: https://www.jamieandjenn.com


- Cut design pieces. ( I used double sided card stock and glitter card stock of the eyes) (There are two pink noses in this file that is not shown in the tutorial and I adjusted the tail to be larger)
- Glue the face piece with openings and a chin to the coordinating black solid cat face. I used a marker to color the outside edges of both large blue eyes. Glue them to the openings in the combined cat face. Glue the smaller solid paws and feet to the larger solid feet and paws.
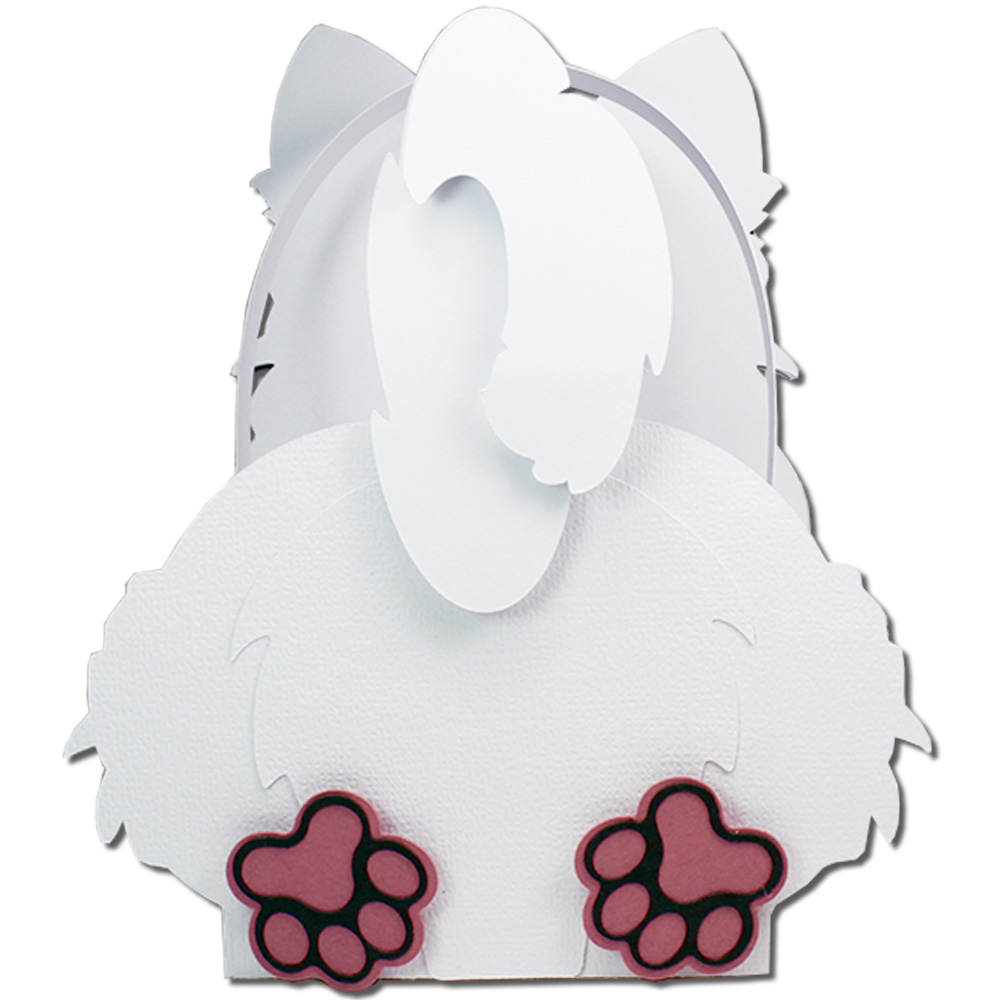
- Glue the fury bottom piece to the coordinating shape on the lower section of the basket base. Glue the other fury chest/head piece to the coordinating shape on the upper section of the basket base.
- Glue the combined cat face to the cat face/chest piece. Glue the inner ears to the coordinating shape on the combined cat face. Using foam adhesive squares, attach the smaller tail to the coordinating shape on the larger tail. Glue the small oval white pieces to the cording shapes on the cat’s eyes.
- Attach the smallest cat head (with cut outs) to the combined cat face using foam adhesive squares. Glue the nose into place.
- Glue the combined cat to the coordinating shape on the basket. Use foam adhesive squares to attach the front paws to the top section of the basket and the back feet and tail to the bottom section.
- I used enamel dots to accentuate the eyes.
- Flip the combined basket over. Fold the basket base at the score lines.
- Apply glue to the top two tabs on the basket base and secure to the Cat shape above.
- Apply glue to the bottom two tabs on the basket base and secure to the rounded shape above creating a box.
- Image of box completed.
- Insert the handle on either side of the basket.
- I added a ribbon.
- Use three small lengths of thread and apply hot glue to one of the groups of ends. Attach the nose. Repeat for the other side:)
- Image of the whiskers glued.
- Hot glue the second pink nose on top of the whiskers:)

No comments:
Post a Comment