Penguin Sweater Hug Gift Card Holder
Approximate Card size: 4” x 7.”
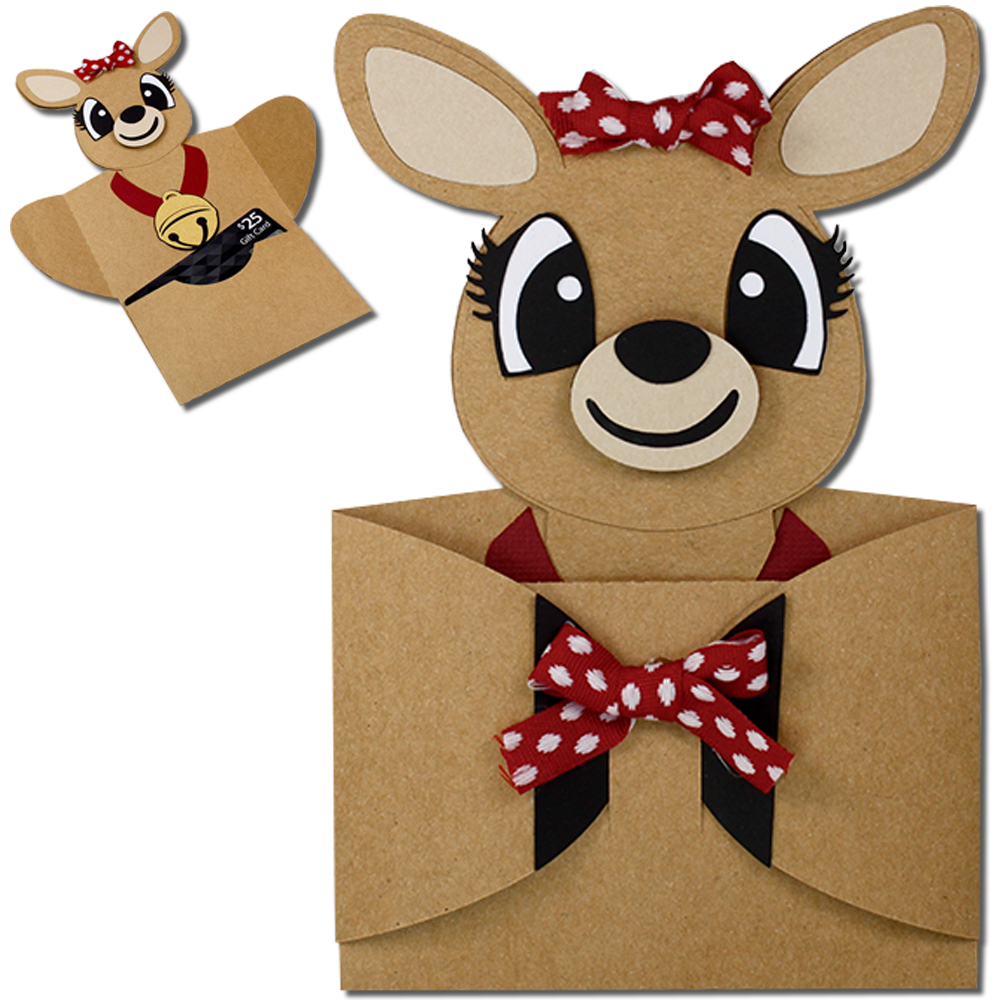
This card features character arms that open to release a hidden gift card section. This design is compatible with both 8X12 and 12X12 mats. A complete step by step picture tutorial and alternate images can be found on my blog.
You can purchase the Silhouette design file here: https://www.silhouettedesignstore.com/artists/485222
You can purchase the SVG and Cricut compatible file here: https://www.jamieandjenn.com


1.Cut design pieces. (I used double sided cardstock) ( There are two additional earmuff pieces included in this file that are not shown in this tutorial until the end.)
2. Glue one of the sweater chest pieces to the coordinating shape on the base. Glue the sweater sleeves on either side on the coordinating shapes.
3. Glue the penguin face (with cut outs) and the ear muff base to the coordinating shapes on the base.
4. Using foam adhesive squares, attach the beak and the sweater collar to the combined base.
5. Using foam adhesive squares, attach the earmuffs to the coordinating shapes on the combined base.
6. Fold the card along score lines.
7. Apply glue the bottom of the side tabs on the card base. Secure by folding upward toward the card base.

8. Insert gift card.
9. Fold the gift card section up. Glue (only the edges) the rectangle to the coordinating bottom section making sure that the score lines align and that the score lines are not glued down.
10. Flip the card over. Glue the other sweater chest piece to the coordinating shape and glue the remaining sleeve pieces to the each side.
11. Using foam adhesive squares, attach the remaining ear muff pieces and the remaining collar piece.
12. Flip the combined card base over and Tuck the hands into the slots.
13. I finished with enamel jewels to accentuate the eyes and a ribbon:)